

Each child loves to play with a snowglobe. Even I as an adult am fascinated by this toy and take each snowglobe in my hands to shake it and watch the snowflakes floating slowly down to the bottom of the scene. The scene might be a landscape, a figurine, or a model of a town. Especially Christmas motifs are particularly popular, snow just goes well with Christmas.
What is a snow globe?
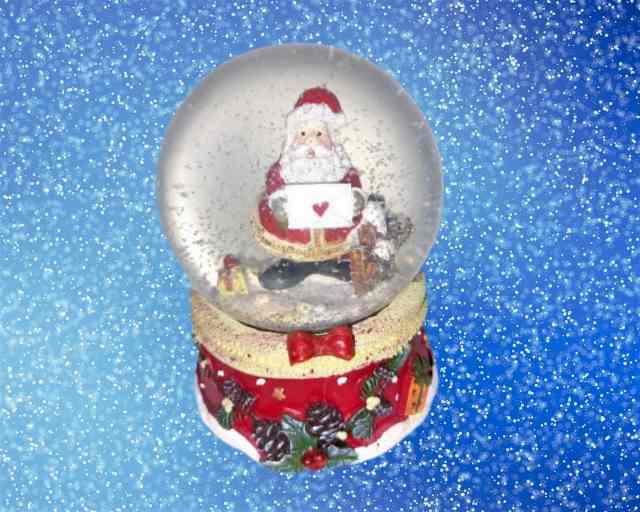
A snow globe is a glass or plastic container filled with water that also contains small particles that stir up when shaken and then slowly settle like snow. The balls contain small figures or miniature landscapes that are “snowed in” when shaken.
Motifs for snow globes

Not only Christmas motifs are popular, but they also serve as a souvenir from a trip, in this case, the ball may also adorn a famous building. A snow globe can also be an extraordinary gift. e.g. for a wedding couple. Here, a photo of the newly in love couple can be inserted into the ball, and instead of snow, small red hearts whirl up.
The history of snow globes
The first historically documented snow globe was exhibited at the World Exhibition in Paris in 1878. The motif was a man holding an open umbrella. (Wikipedia). But not much is known about it and it seems it was soon forgotten. At the end of the 19th century, a surgical instrument mechanic named Erwin Perzy I. experimented with a cobbler’s ball, which was used as a light source before the introduction of electricity. He added various materials to the cobbler’s ball to increase the reflection of the light. He also tried semolina. When he shook it, it reminded him of snow. He placed a miniature model of the Mariazell basilica in a ball filled with water and semolina. He exhibited this first snow globe at a souvenir stand, where the sphere aroused great interest. Perzy had his invention patented and opened a company in which these ‘glass balls with snow effect’, as he called his invention, were made. This business is still run today by the descendants of Erwin Perzy under the name: ‘ORIGINAL WIENER SCHNEEKUGELMANUFAKTUR’. They export their snow globes all over the world. They have also opened a museum in Vienna where you can admire historical snow globes. https://schneekugel.at/index.php/
Painting snow globes
I have seen quite some snow globes painted with acryl or watercolor and paintbrush on a canvas or with crayons. I want to try to paint a snow globe with paint markers on a rock. Feel free to follow the individual steps and try for yourself.

My rock is about 4 x 3 inches. For the background, I am using Posca pen PC-5M in the colors white, blue and Prussian blue.
Step 1:

Moisten the stone with clear water and with the help of a brush. Take the white paint marker and press the tip firmly a few times onto the center of the stone until a large, white dab of color is created. Around the white dab, place a few dabs in blue and then the Prussian blue. Use the damp paintbrush to keep the center white and mix in more and more blue, so that the edges will the color becomes darker and darker towards the edge.
Step 2:

Using a white Posca pen, with a fine tip (PC-1M) draw the outline of the snowball. I drew the outline of the sphere with the help of a glass, as the stone I chose has many irregularities on its surface.
Step 3:

In the sphere, using a white PC-1 M marker, I outline the snow bottom. Filling it in with a white PC-5M. I am using this thicker marker because it takes longer for the paint to dry and I can add some light blue on the bottom and blend it with the white to get some shadowing in the snow.
Step 4:

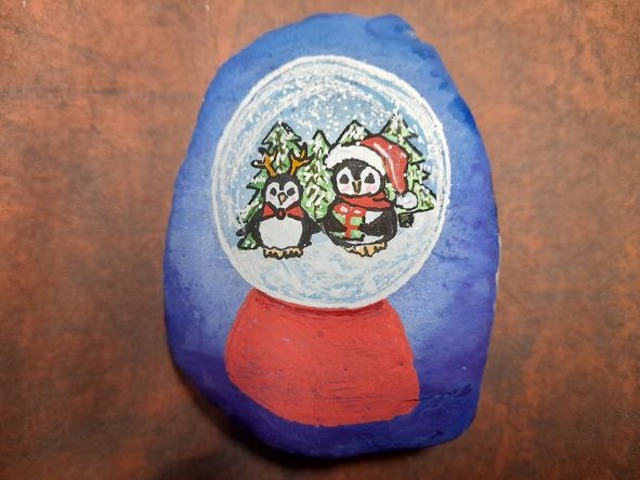
Time to draw a motif of your choice. I of course chose penguins, my favorite winter motif this year. Using the white PC-1M marker, first I sketched the head and the white part of the penguins’ belly. Then, using the finest Posca pen, PC-1MR, I paint in the black feathers.

This is, what the rock looks like right now. I decided, that the background looks a bit naked and added some pine trees.
Step 5:

Dab in the snowflakes with the fine white PC-1M Posca pen.
Step 6:
Paint the bottom of the snowglobe in the color of your choice. I was using red with a fine line of dark red right below the sphere to emphasize the shade. Leave it to dry, before adding decoration.
Go back to the sphere and trace its contours with the color white. Paint in then the reflection lines. For the one nearer to the contours I was using the thicker, PC-3M pen. With this pen draw a curve in the shape of a circle, and immediately wipe over it with your finger to smudge the line. Then, using the thinner PC-1M do the same for a 2nd reflection line.
Step 7:
Now you decorate the bottom of the snowglobe to your liking and add a shade with the darker blue below the bottom of the globe.
Step 8:
The last step is, as with most of the rocks that we paint, the sealing of our small works. Sealed with a good clear varnish, our little work of art is weatherproof and will still look beautiful and bring joy to a lucky finder, even if it was outside for a while.


